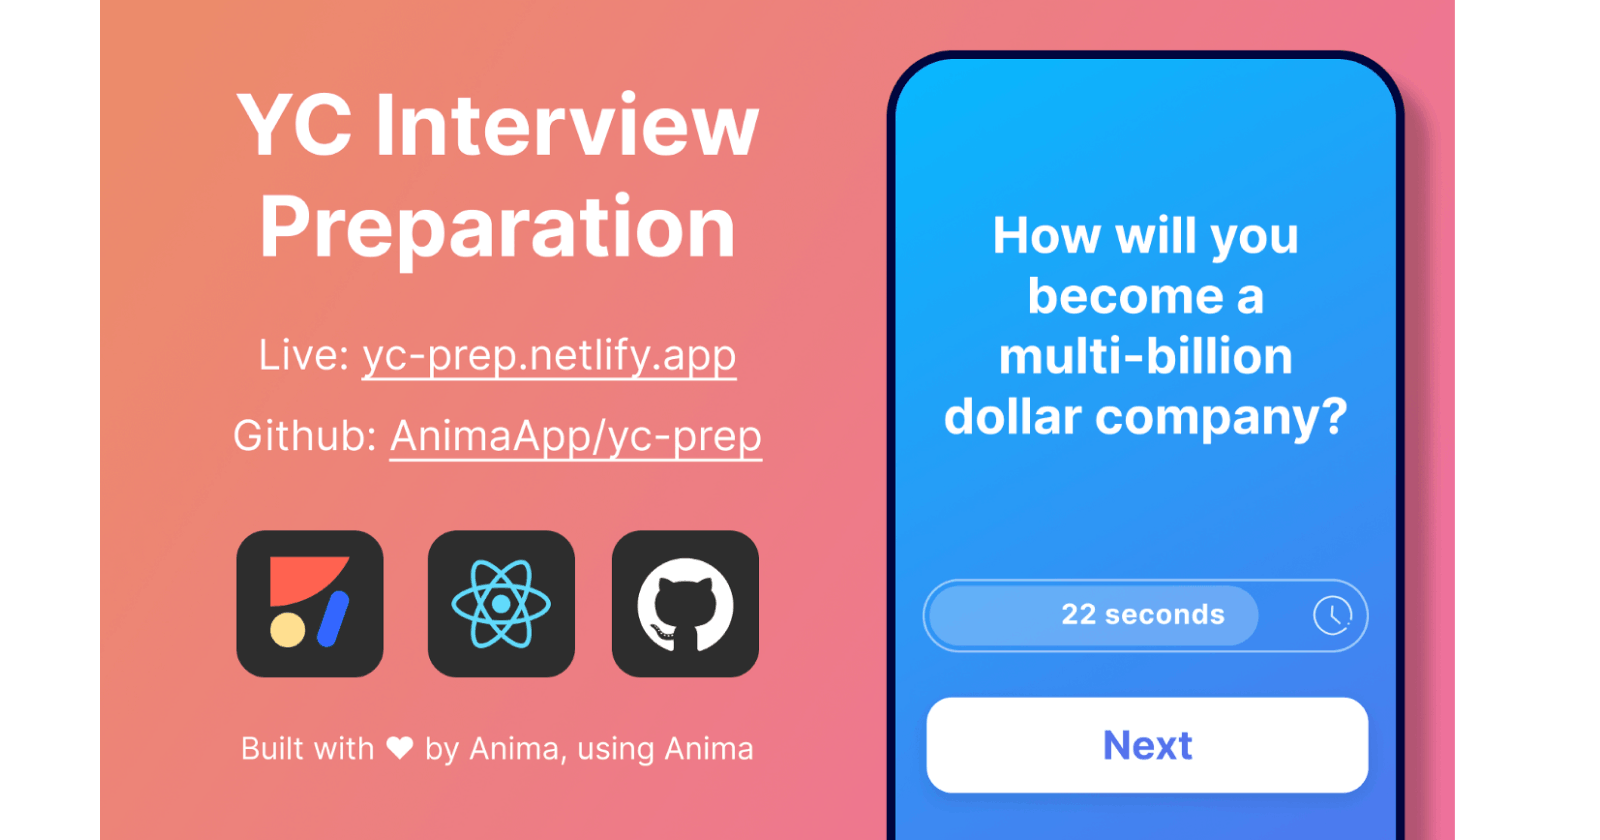
How to prep for your YCombinator interview
Build your own YCombinator prep tool using Anima + Figma + React + Netlify
Anima was a part the YC18 cohort and in preparation, developed a prep-questions app for the upcoming interviews. The app provided a training environment, simulating the 10 minute YCombinator interview format, as we geared up for the actual interview process.
Try the live demo
Given the Q&A format, the app turned out to also be a useful resource investor meetings. And after a number of requests from companies wanting to use the app's functionality, we redeveloped it so it could be shared as an open source app.
If you're interested in Amina's YCombinator journey, check out our How to nail your YC interview post.
How prep app was built
Anima CEO, Avishay Cohen, shows the step-by-step process for creating the app, which involved converting the Figma design into a live React app before deploying it on Netlify.
The redesign was done in Figma which meant that most of the code could be written automatically. The Anima plugin for Figma converted the design into code, specifically Figma to React.
But there was still some additional work done to support this, which you can read about in more detail on Anima's GitHub page.
How to build your own YCombinator prep tool using Anima + Figma + React + Netlify
Start with your design file.
This Figma sample file is available to duplicate here.
Step 1: Sync to Anima
- Sign up at AnimaApp.com
- Install the plugin for Figma, Adobe XD or Sketch
- Click Preview, then Sync
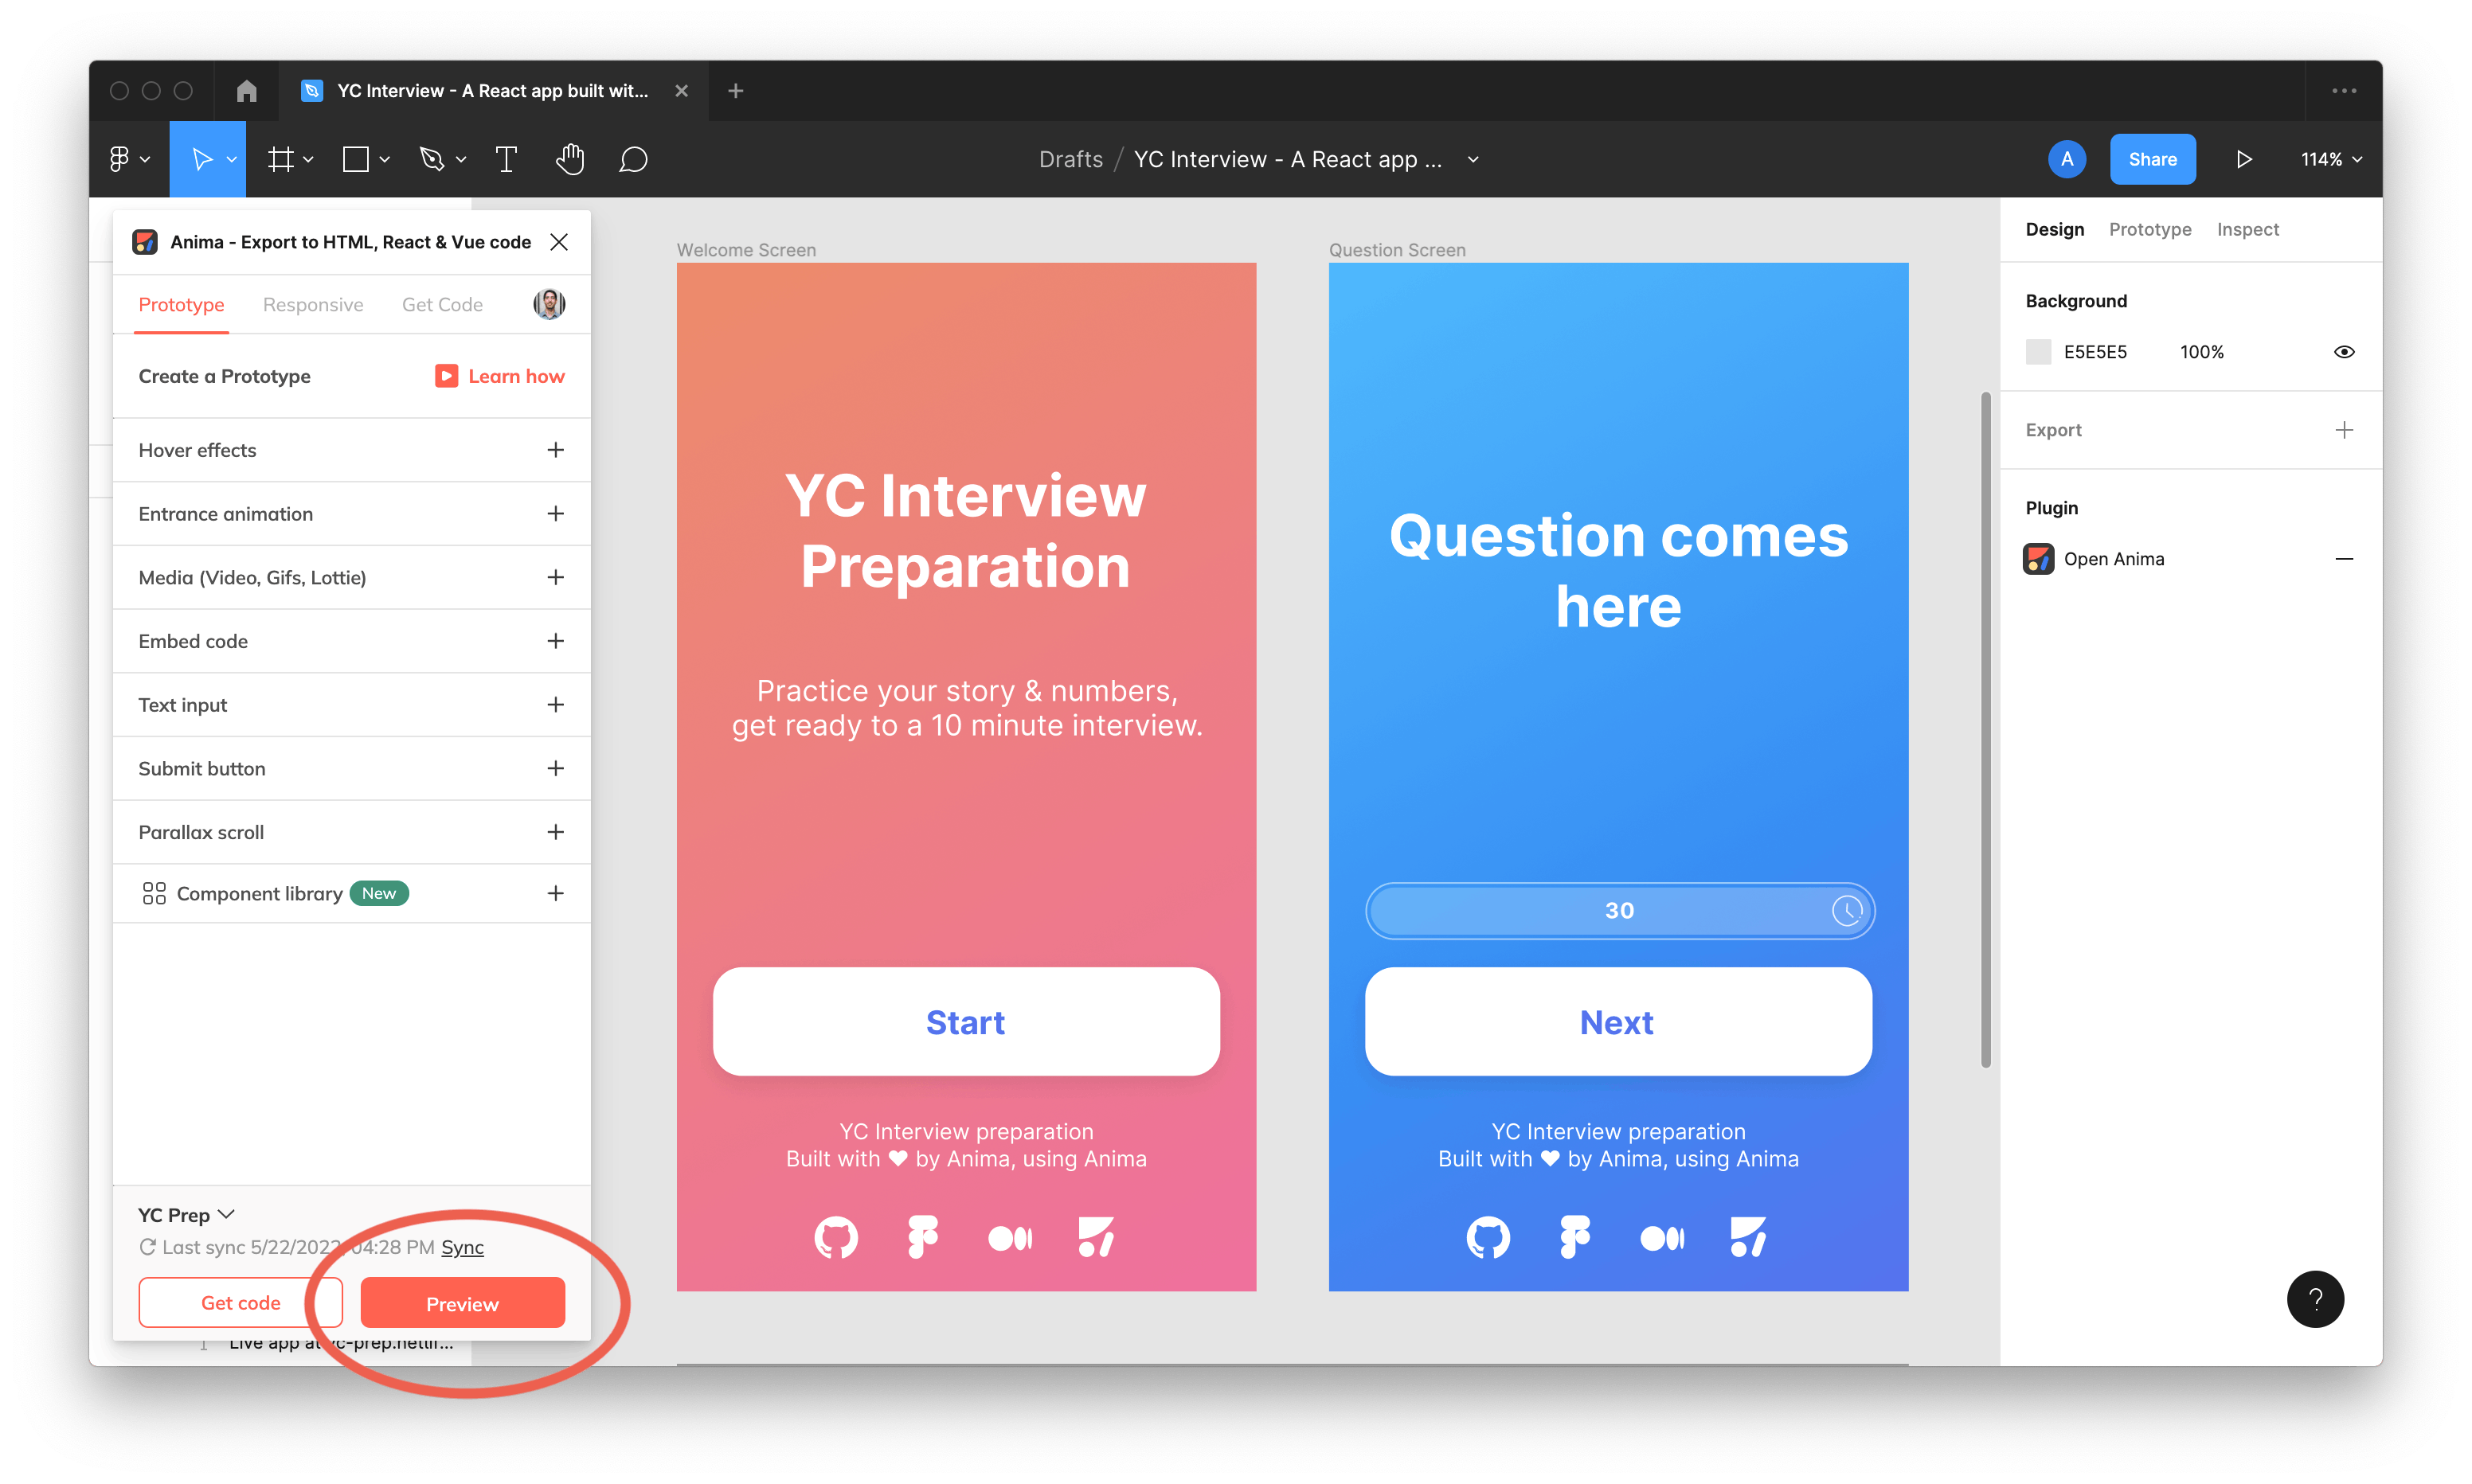
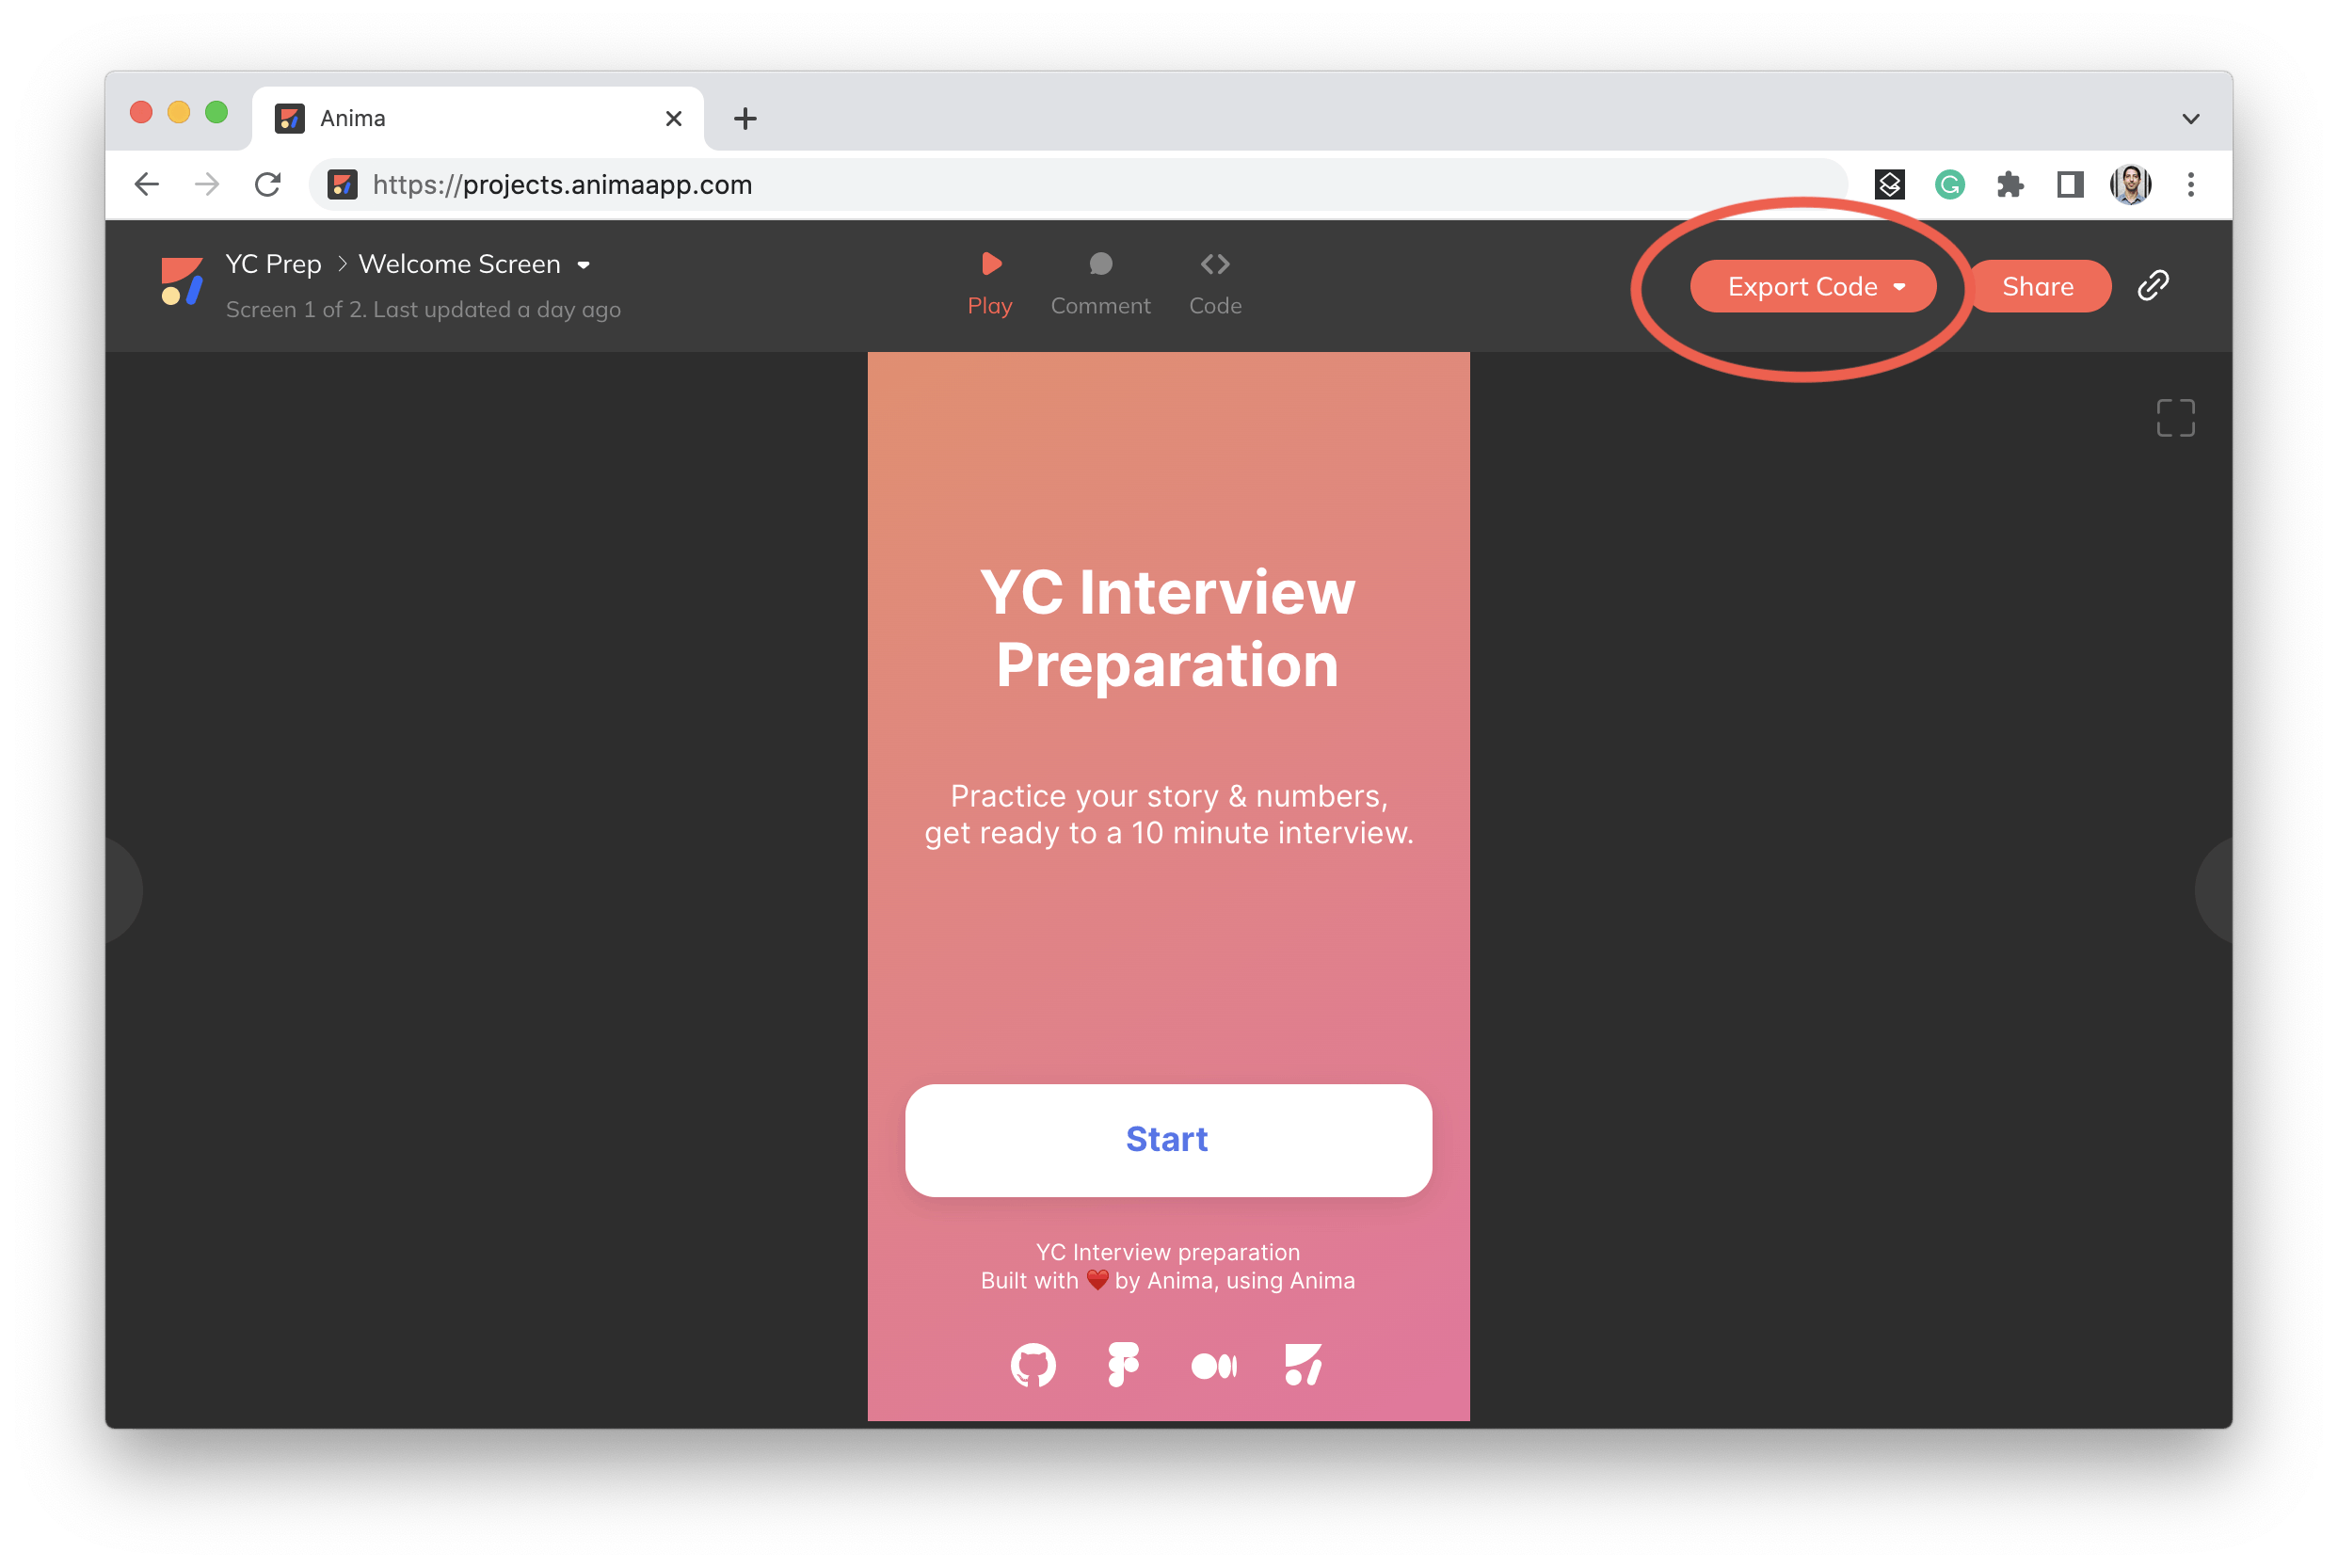
Step 2: Export React code
In Anima, Export code for the whole project
Step 3: Running locally
- Open terminal on the Anima code folder, and run:
npm install
npm start
Open
http://localhost:1234/Adding logic
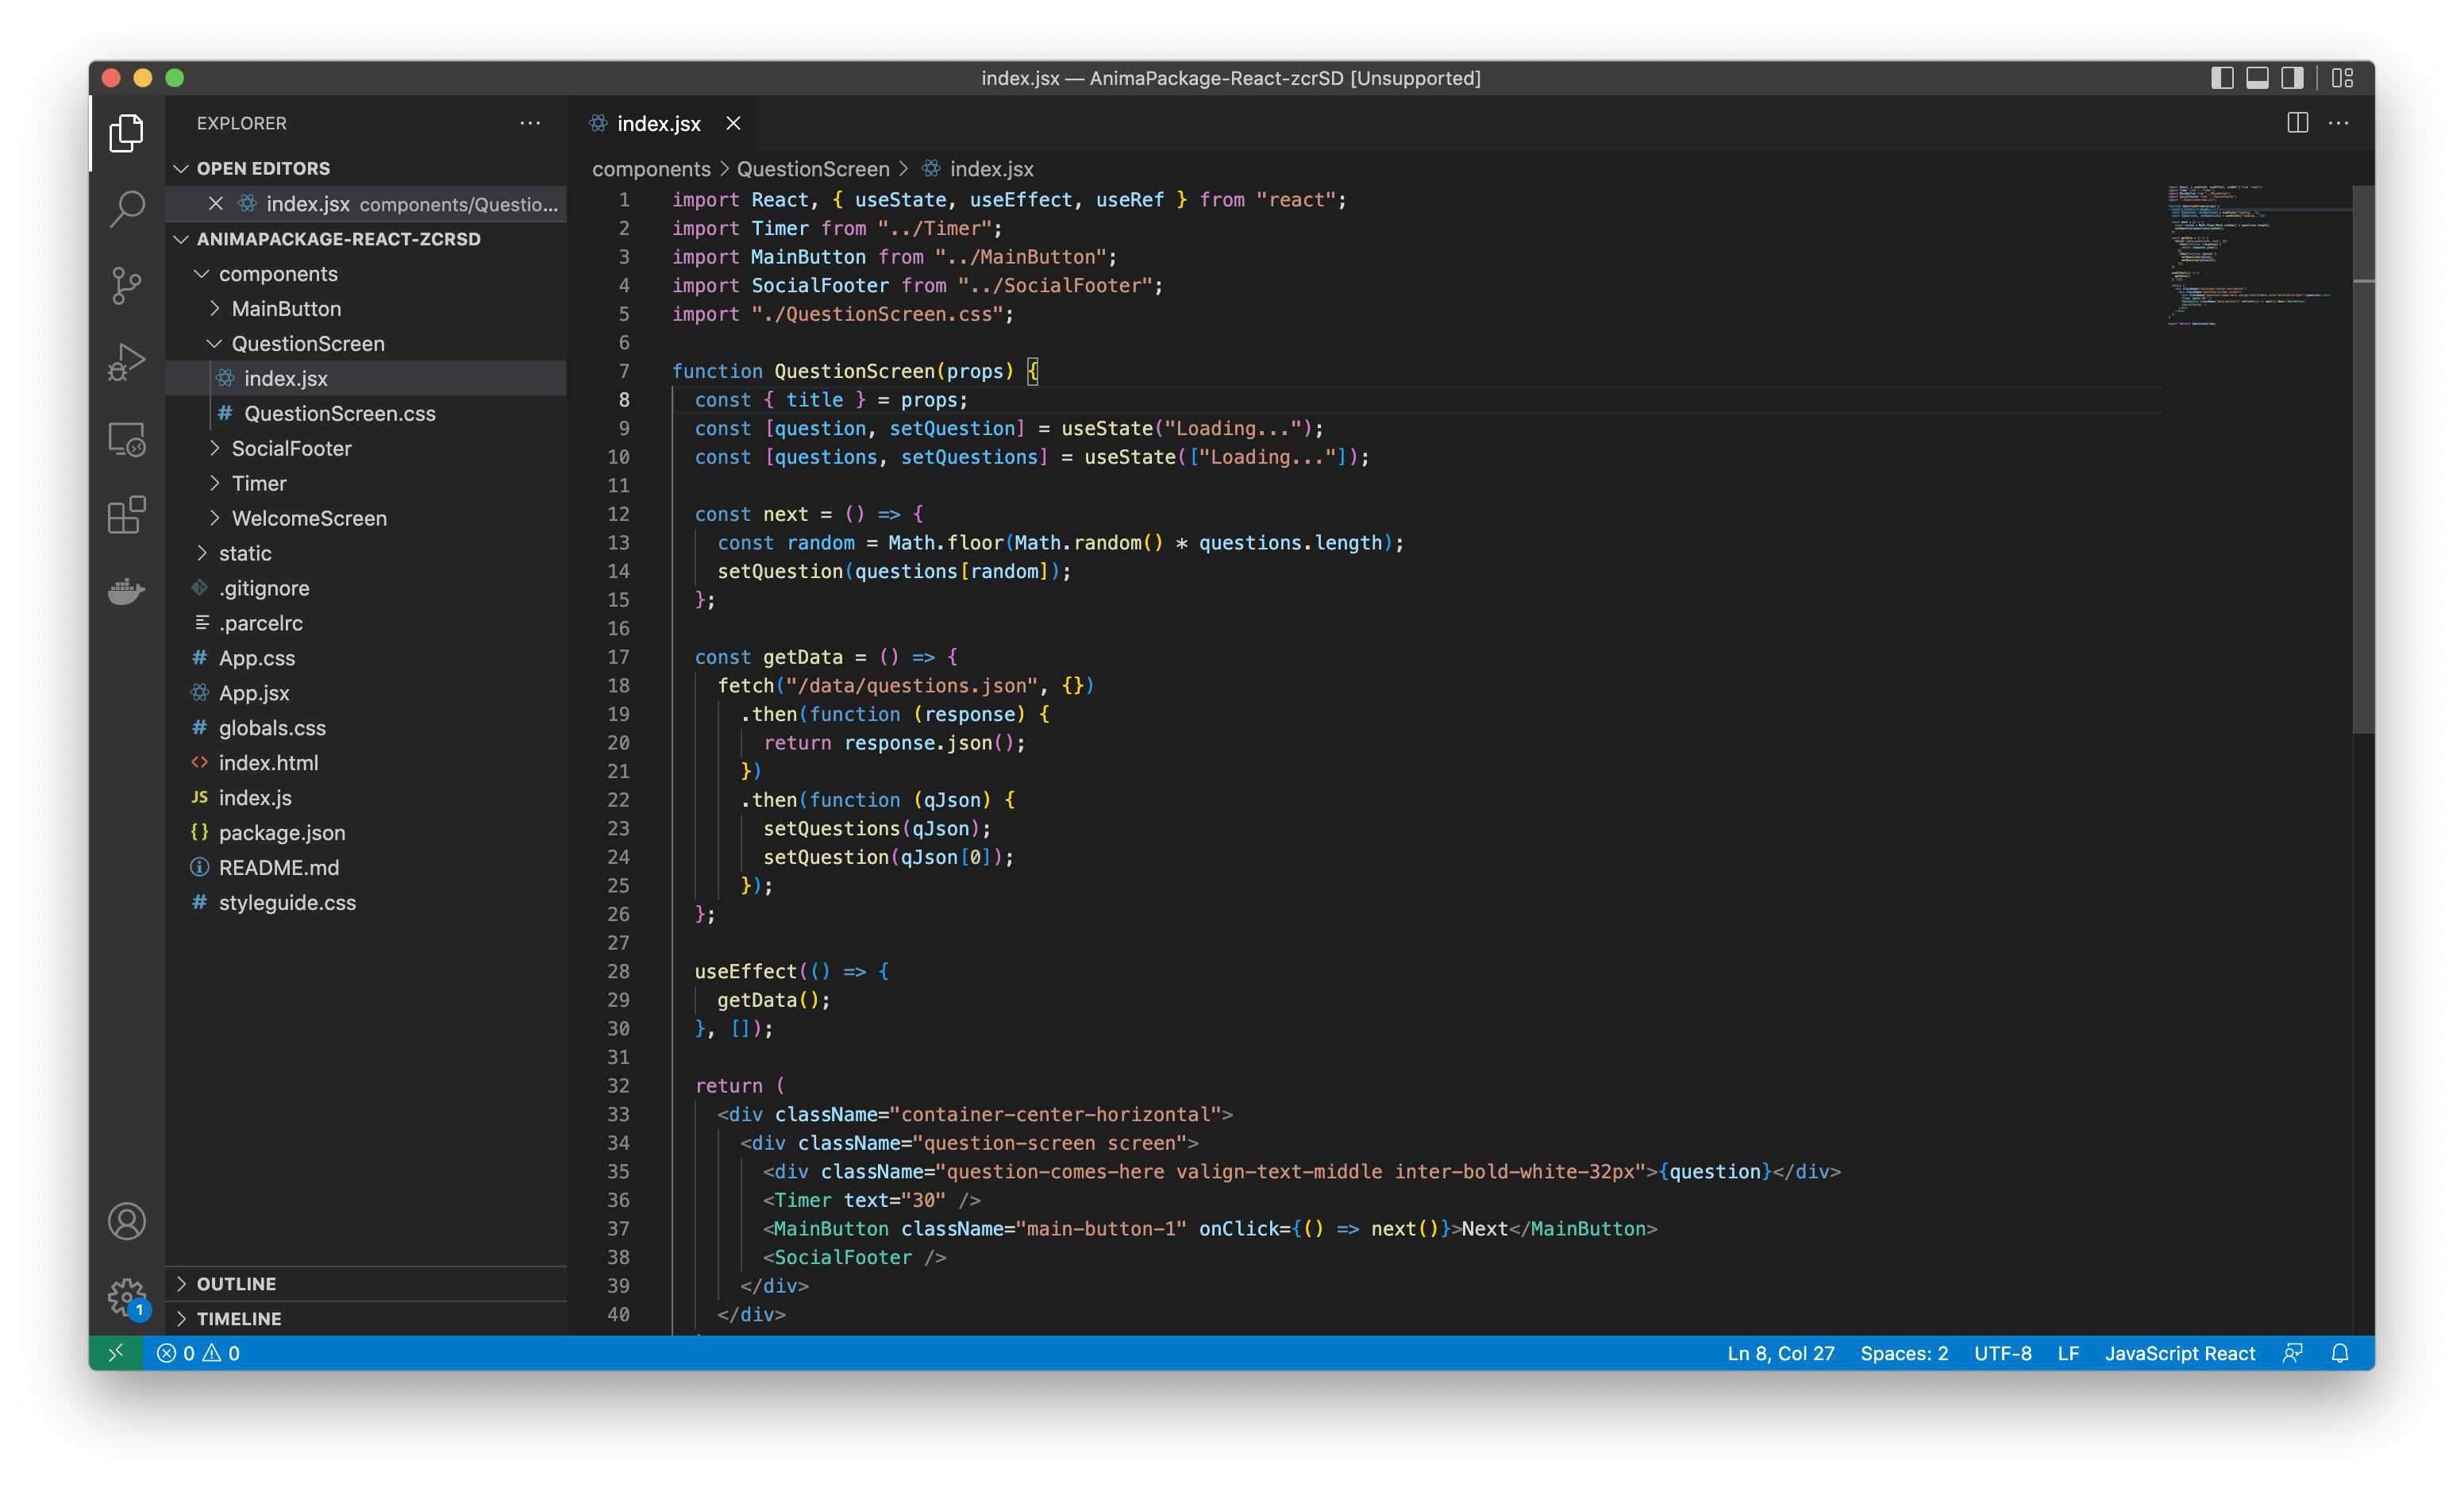
On this simple app, most of the logic is loading questions, and running them randomly.
Adding links
- Anima’s code comes with react router out of the box.
- The History hook is the classic way to add links on onClick
Loading the questions
- The State hook is used to store the questions array and the current question.
- The Fetch method allows us to pull the questions on getData(),
- I’ve added the questions.json file to the static files folder.
- The Effect hook is used to trigger the
- I’ve added a simple function called next() to randomize a question from the array
- In the render function, I’ve added the value of the current question
All the final code is available on GitHub
Step 5: Publishing to Netlify
Netlify is a great cloud to host React apps.
If you don’t have netlify, install it with npm using the following command:
npm install netlify-cli -g
If you do have netlify use these commands:
npm run build
netlify deploy
Choose the dist folder when asked, and you’ll get a link on Netlify to your React app.
Use netlify deploy –prod when you have the final result, and get a sharable link.
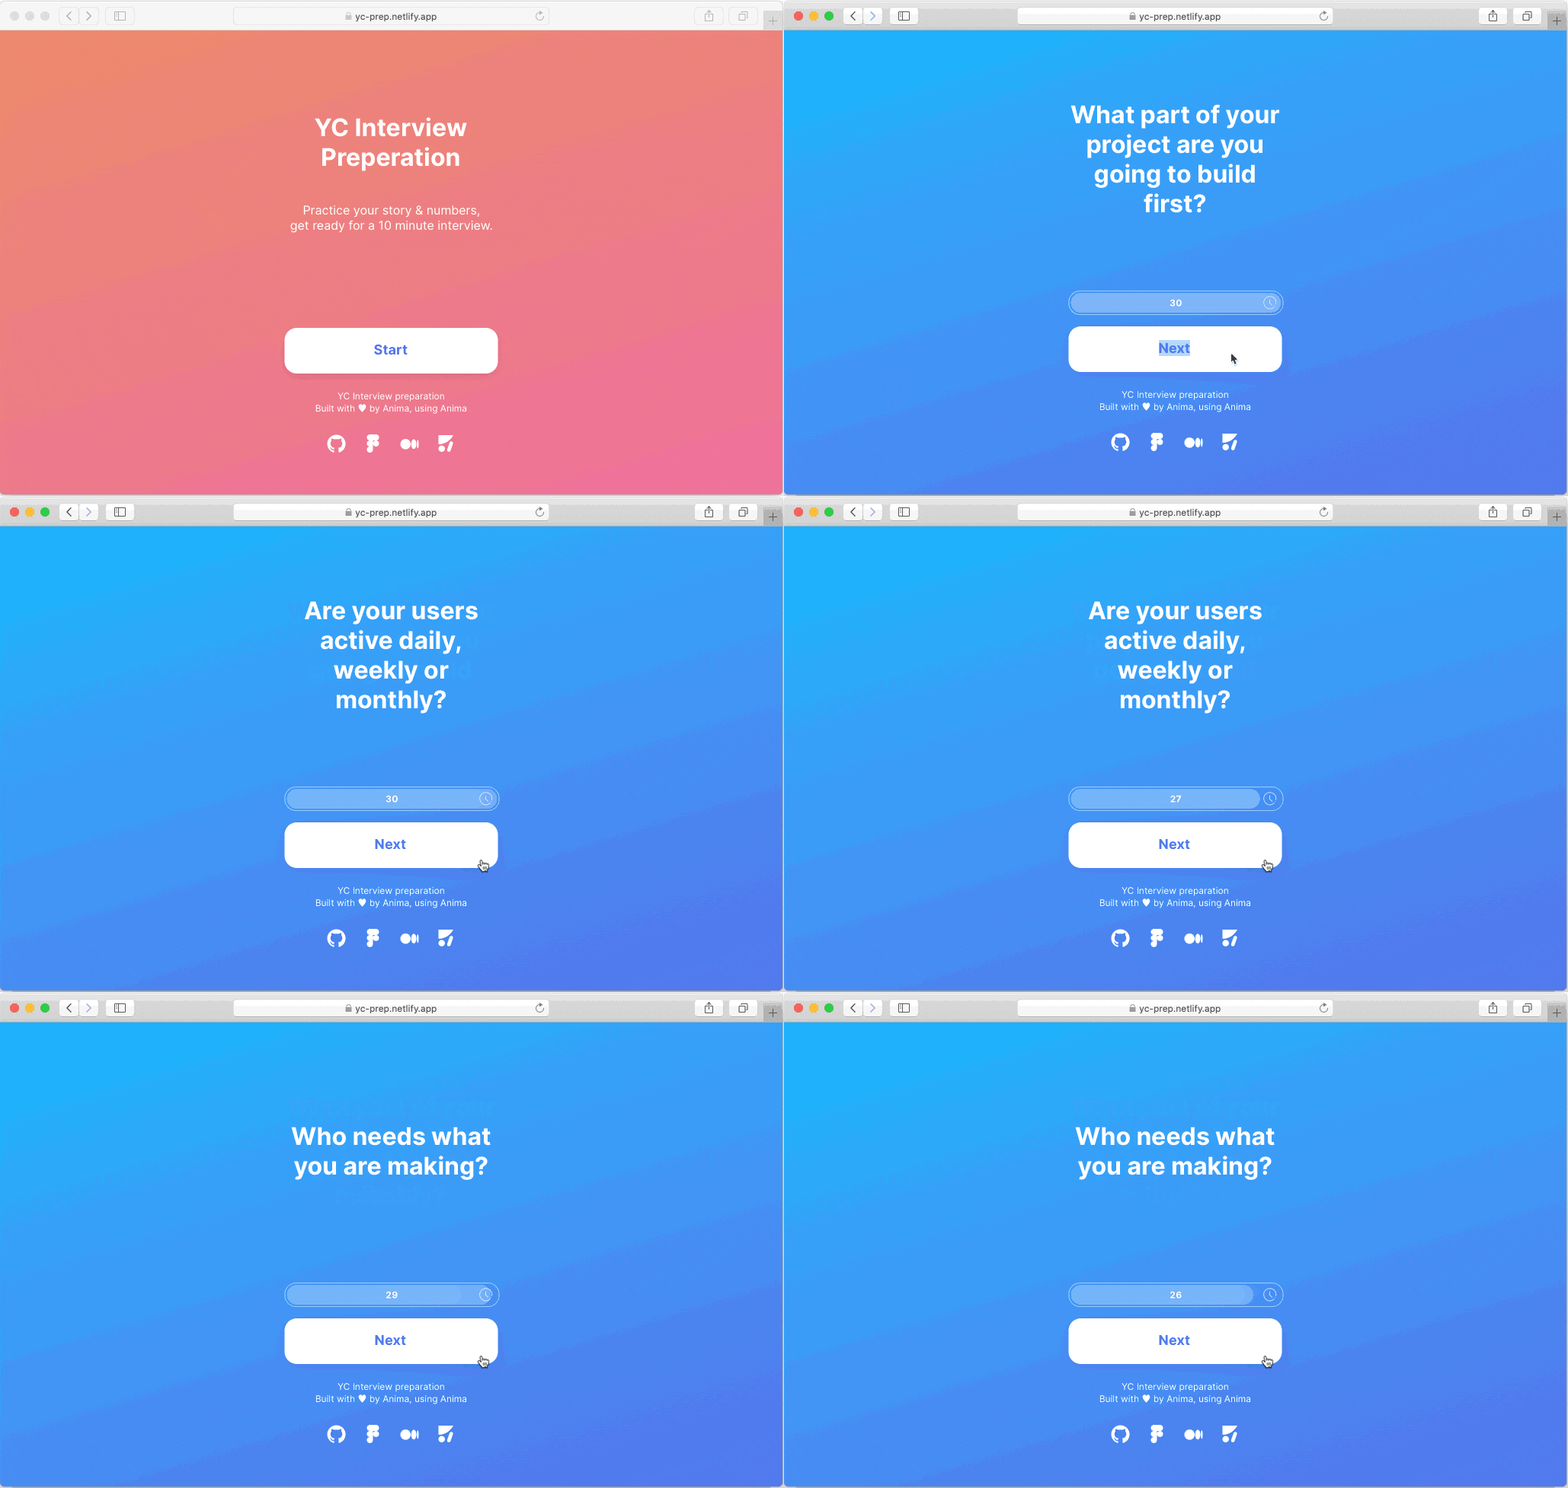
A preview of the live app:
Additional resources:

